From mic placement tips to making sure you are using the right gear, this guide will help you nail your best acoustic tracks every time.

There’s no getting around the fact that the most critical factor in recording acoustic guitar is the player! Quality performance with great guitar technique will get you an excellent recording 99 times out of 100. The second most important factor after the musician & performance is the actual instrument you use. Getting a quality guitar into some capable hands is three-quarters of the battle!
From the engineering side, just basic knowledge of mic placement and gain staging will get you where you need to go if you have a great player and guitar. You’ll see those other things to consider when tracking acoustic have nothing to do with setting up mics and getting levels!
Recording Acoustic Guitar – The Basics

Produce Like A Pro did an excellent, in-depth video called Recording Acoustic Guitar 101, where they tried out a bunch of different microphones on an acoustic guitar. One of these was the standard $99 [£70] SM57 going through an Audient iD14. As long as you’re not clipping the input stage (you can keep it down to about 50% of the gain), you will get a good result.
For less than $350 [£249)] spent on gear (a $99 mic [£70], a $200 interface [£142], & a $30 [£21] cable), you can record fantastic sounding acoustic guitar tracks (assuming you have an experienced and capable player delivering a quality performance). As for mixing the tracks, there are an unlimited amount of stock plugins that you can find to use! You do not need a crazy fancy set-up to good-sounding capture acoustic guitar tracks.
The most important thing when recording acoustic guitar is the player, the performance, the instrument, and then the mics, in that order! From there, it’s the little things that count.
1. Proper Seating for the Player
If you can, choose a chair where the arms can either go down or be removed so that you have full mobility with your guitar. A stool is another good choice.
This player is seated in an armless chair for freedom of movement while playing.

If you are recording with an artist, this is particularly important. You want to make sure to get them as comfortable to play as you can. You don’t want to waste any precious recording time worrying about your chair.
Make sure also to choose a chair that is steady and quiet. Any creaking or shuffling sounds will result in unwanted noise in your recording!
2. The Right Mic Stand

A “double boom” stand is a great option. This allows you to keep the weight counterbalanced on the back of the stand so that the mic on the other end doesn’t droop at all. You might not think this is a big deal, but you’ll notice a sound difference if it moves. You have to keep the mic on the same plane while you are recording. Even the slightest of changes can affect the recorded outcome.
In other words, don’t overlook the value and necessity of a quality mic stand. Having one on hand that’s sturdy enough not to droop or change position is crucial!
3. Making Sure Clothing/Accessories Don’t Hit the Guitar

This might seem obvious, but buttons on your sleeve, a necklace, or anything else between you and the guitar can get picked up by a mic! Be aware of any potential items that may hit or rub against the deal with it accordingly.
This is one of the finer details of recording acoustic guitar you won’t want to overlook. Our job as engineers goes beyond hitting record.
Music doesn’t lie. If there is something to be changed in this world, then it can only happen through music - Jimi Hendrix
Check out our No.1 recommendation for learning guitar here.
4. Mic Choice/Placemen

Small diaphragm condenser mics such as the Neumann KM 184 or AKG 451 perform well in recording acoustic instruments. They are known for capturing a sound that is detailed and clear in the high end. This creates a noticeable ‘hi-fi’ or ‘3D’ sound, which greatly compliments acoustic recordings.
Likewise, you can get a great result from your favorite large-diaphragm condenser as well. The dynamic SM57 performs amazingly with a budget interface, and it can work wonders sometimes. Don’t forget; the performance is what matters above all else! There is no one “perfect position” that works in every scenario, so as long as the placement is intentional and strategic, you should be ok.
A large-diaphragm condenser placed approximately between the soundhole and fretboard.
Depending on the kind of mic you’re using and the sound you’re looking for, there are a variety of different mic positions that you can use. Some standard single mic placement setups include the following techniques.
One of the standard single mic positions is to place it near and facing where the guitar’s neck meets the body. The exact angle and distance will vary depending on the instrument itself and the sound you’re going for. In this position, you’ll be picking up a lot of the brightness and detail of the strings.
On the other hand, another typical setup is having the mic pointed near the bridge and closer to the player’s hand. Here the sound is a bit duller than up nearer the neck, capturing less of the strings’ brightness. If you’re going for a fuller sound with a bit less detail in the high end, this is a great position.
5. Polar Pattern

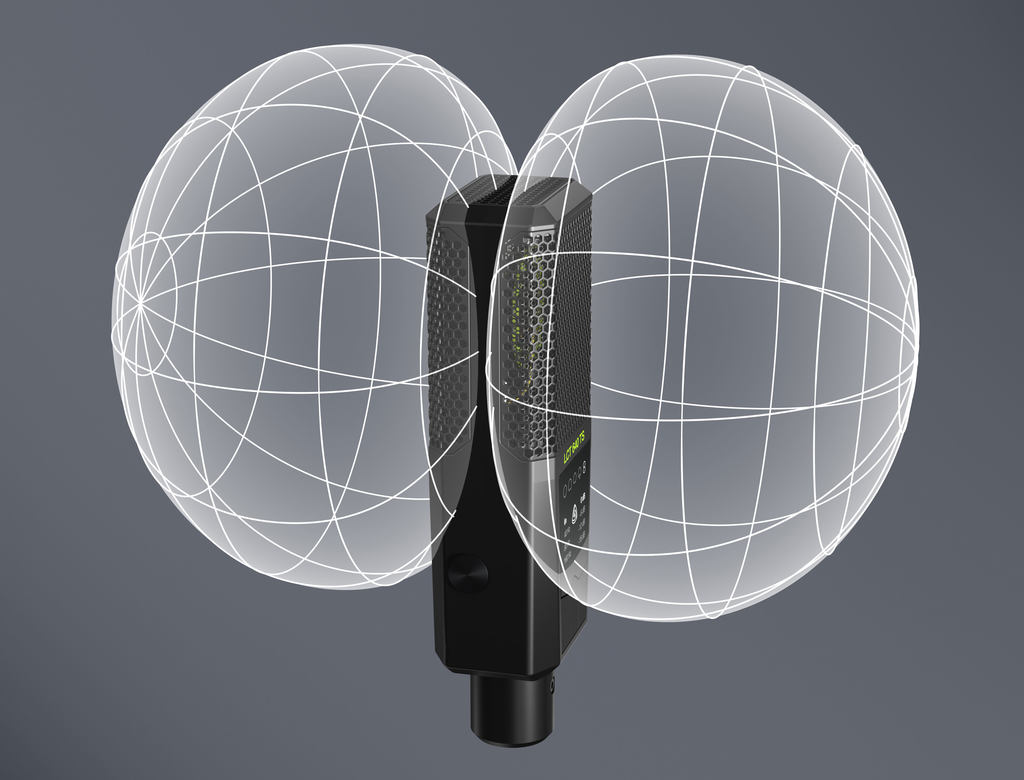
Your mic’s polar pattern is one element that needs to be considered. When using a cardioid condenser or dynamic like the SM57, you may run into an issue where the pattern unnaturally highlights the space it’s aimed at. The proximity effect is another problem with cardioid pattern microphones and close miking.
Omnidirectional microphones are also great to experiment with recording acoustic guitar. While it’s true that you will pick up more room sound in the recording, you will also be able to place the mic closer to the guitar than you would a cardioid mic. This is because of the latter’s proximity effect, which can be limiting. A wider pickup pattern will be able to capture a more accurate sonic image of the performance altogether.
If you find you’re picking up way too much room sound, you should try to dampen any space behind the mic.
Final Thoughts
You may have noticed that most of these tips revolve around making sure the player is comfortable, prepared, and ready to perform. We’ve said it before and can’t help but say it one more time- the most important aspect of capturing a good acoustic guitar performance is having a good performance to capture in the first place.
Spending a little bit of time preparing your studio and gear before the session even begins will allow you the best possible opportunity to capture a great sounding acoustic performance. Once you’ve got that down, you are ready to press record!
Author bio:

Dr. Robin Alexander
Dr. Robin Alexander, an MD Pathologist and passionate guitarist, combines his love for music and science. As a guitar enthusiast, he shares valuable insights and tips on guitar playing here at Guitarmetrics, helping musicians enhance their skills and enjoy their musical journey.
Check out these other Blogs we recommend for Essential Tips For Recording Acoustic Guitar Tracks.
1. audient.com
5 Essential Tips For Recording Acoustic Guitar


